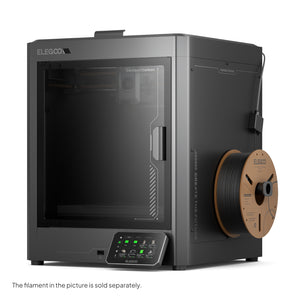


If your printer needs replace the limit switch, please follow the steps below.
Tools you need: M2.5 L-Type Long Wrench, M2.0 Hex Wrench, New Limit Switch
STEPS
1) Unlock the screws with the M2.0 Hex Wrench and take off the front shell of the printer.
2) Loosen the cable lock and gently unplug the cable that connects the motherboard and the touch screen for the convenience of later operations.
3) Unplug the cable that connects the limit switch to the motherboard.

4) Unlock the screws with the M2.0 Hex Wrench and take off the back shell of the printer.
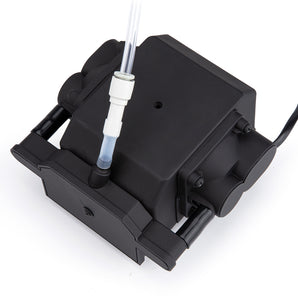
5) Pull out the green terminal of the air filter.
6) Put the machine down gently to facilitate later operations.

7) Remove the power switch panel with the M2.5 L-Type Long Wrench.

8) Pull out the wire of the limit switch to avoid hindering the removal of screws later.
9) Loosen the limit switch screws with the M2.5 L-Type Long Wrench and take it off.

10) Reinstall the new limit switch and lock the screws.
11) Reinstall the power switch panel and lock the screws.
12) Move the wire of the new limit switch to the front of the printer.
13) Reinstall the green terminal of the air filter.

14) Reinstall the cable that connects the motherboard and the limit switch.

15) Re-plugin the cable that connects the motherboard and the touch screen and lock it.

16) Reinstall the front and back shell of the printer, lock all screws.
INSTRUCTIONAL VIDEO